Home »
Archives for 05/23/11
- on 3:54 PM
Make best use of the Rule of Thirds
When framing a nice landscape, you should take your time and arrange your camera exactly the way you want, so you can get the best picture out of the object/landscape you’re shooting. The “rule of thirds” basically means that you place objects in your pictures along imaginary lines that divide the frame into nine equal parts. So you should for example place the line of horizon that divides the scenery from the sky in your picture either on the imaginary line in the upper or lower third.
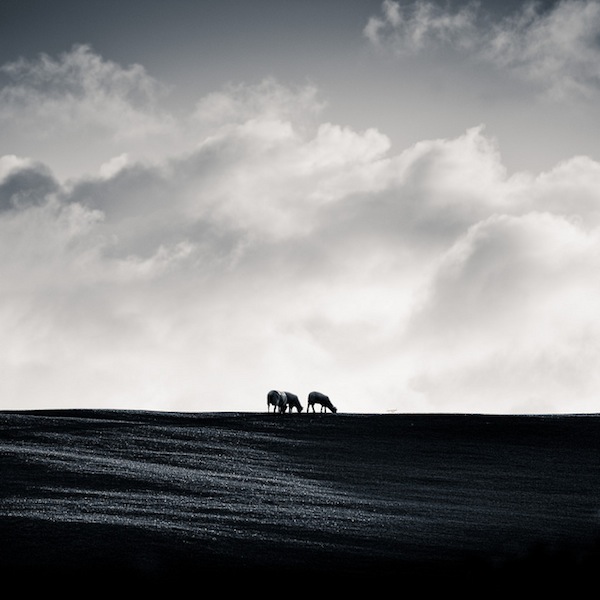 Try to place a foreground object
The human eye is used to search for an object that functions as the “center of interest” of a picture, when looking at landscape photography. By having such an object in the foreground, we can put what we see in relations (regarding size and distances) and are more at ease looking at the picture. For best effect, also use the “rule of thirds” here, move the object out of the center and more towards the sides.
Try to place a foreground object
The human eye is used to search for an object that functions as the “center of interest” of a picture, when looking at landscape photography. By having such an object in the foreground, we can put what we see in relations (regarding size and distances) and are more at ease looking at the picture. For best effect, also use the “rule of thirds” here, move the object out of the center and more towards the sides.
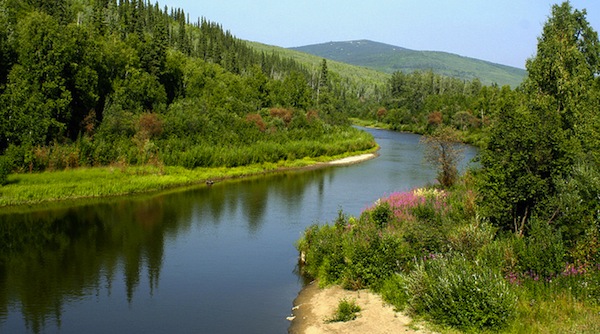
Find interesting geometric formations in nature
Structures tend to catch the viewer’s attention more than just a bland landscape where they don’t really know what to focus on. A very common structure is for example the “Lazy S”, which often occurs in rivers that run out of sight in an S-shaped form. This S-form provides the viewer with a line along which to look at the picture and in a way draws the viewer’s eye into the scene along the river’s shape
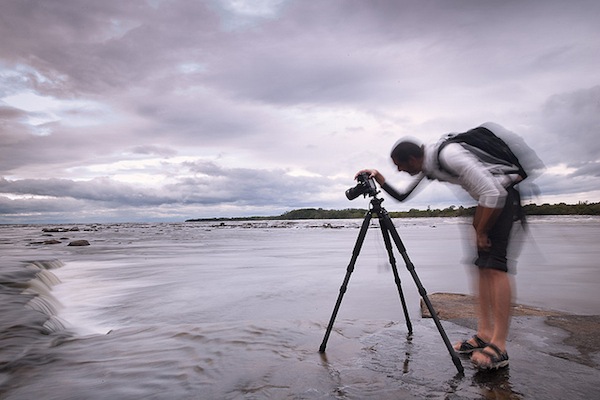
 Use a tripod
This one would maybe strike you as an obvious tip, but it surely isn’t one that you should neglect either. A tripod helps you in several ways to get the best out of the landscape you’re shooting. You naturally concentrate more on the framing as the tripod provides you with the sturdiness you need to slowly arrange your camera, whereas handheld landscape pics often give the impression of a snapshot. Also it helps you to take better pictures in low light settings, and take advantage of interesting lighting in general (see below).
Use a tripod
This one would maybe strike you as an obvious tip, but it surely isn’t one that you should neglect either. A tripod helps you in several ways to get the best out of the landscape you’re shooting. You naturally concentrate more on the framing as the tripod provides you with the sturdiness you need to slowly arrange your camera, whereas handheld landscape pics often give the impression of a snapshot. Also it helps you to take better pictures in low light settings, and take advantage of interesting lighting in general (see below).
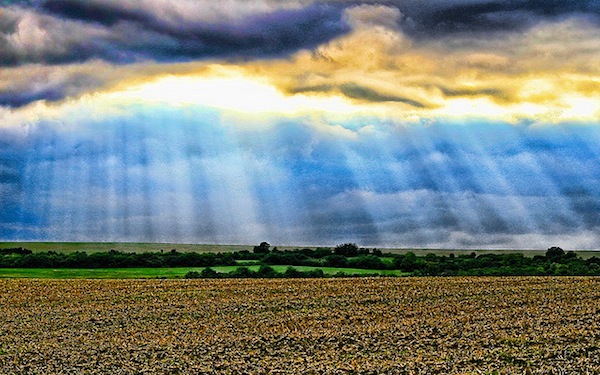
 Use a small aperture to create interesting light effects
Smaller aperture (big f-stop number) decreases the amount of light that goes through your lens and hits the sensor (or film) of your camera. Thus light that originates from outside the scenery that you are shooting wouldn’t interfere with the rays of light inside the scenery. That means that the rays of light inside the scenery can appear in layers when for example passing through clouds. The smaller the aperture and ISO are, the better the results. Be sure to use a tripod to provide the needed sturdiness for a shot with very slow shutter speed. You might also want to use a lens hood to further enhance the effect.
Use a small aperture to create interesting light effects
Smaller aperture (big f-stop number) decreases the amount of light that goes through your lens and hits the sensor (or film) of your camera. Thus light that originates from outside the scenery that you are shooting wouldn’t interfere with the rays of light inside the scenery. That means that the rays of light inside the scenery can appear in layers when for example passing through clouds. The smaller the aperture and ISO are, the better the results. Be sure to use a tripod to provide the needed sturdiness for a shot with very slow shutter speed. You might also want to use a lens hood to further enhance the effect.
- on 3:52 PM
Many of you of have probably seen the white balance feature on your camera, but either don’t use it, or unsure what exactly it does. Understanding the function of white balance can dramatically improve your photographs and also make post-processing much easier and quicker. It may sound technical, but it’s really an easy concept
Here’s a no fuss and simple overview of what white balance is and how you can start benefiting from it.
What is white balance?
Different lighting conditions often caste a different hue of color onto objects. We often wouldn’t notice this hue as our eyes automatically adjust to the surrounding. However, our cameras don’t have this advanced capability and that is why sometimes the color white doesn’t appear to be exactly white in photos. Under tungsten light, photos have a yellow hue (warm), while fluorescent lighting adds a blue hue (cool).
Having the wrong white balance can make a photo look ghastly. Ever tried taking a photo of steak under fluorescent lighting? It’s not a good look.
 Adjusting white balance
Adjusting the white balance means trying to achieve a neutral hue that doesn’t distort the image colors. There are various ways you can do this in post-processing, but to save you the hassle, your camera can actually correct the color if you select the right preset white balance settings.
In every digital camera, the default is always on auto white balance (AWB). This works fine in most situations, but then it doesn’t always get it right. There are different settings to choose from such as Daylight, Cloudy, Shade, Tungsten, Fluorescent and Flash.
So for warmer light (daylight and tungsten), your camera will try to cool the picture tell. Whereas in cooler light (cloudy, shade and fluorescent), your camera will warm up the image
Adjusting white balance
Adjusting the white balance means trying to achieve a neutral hue that doesn’t distort the image colors. There are various ways you can do this in post-processing, but to save you the hassle, your camera can actually correct the color if you select the right preset white balance settings.
In every digital camera, the default is always on auto white balance (AWB). This works fine in most situations, but then it doesn’t always get it right. There are different settings to choose from such as Daylight, Cloudy, Shade, Tungsten, Fluorescent and Flash.
So for warmer light (daylight and tungsten), your camera will try to cool the picture tell. Whereas in cooler light (cloudy, shade and fluorescent), your camera will warm up the image
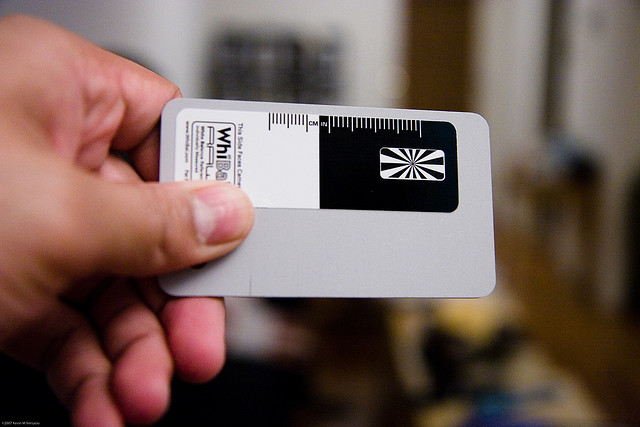
Custom white balance
When auto and preset settings all fail, most camera come with a custom white balance mode. Usually in this mode, you begin by taking a photo of a white object, like a piece of white paper or a professional white balance card. Your camera will then use that as a reference to adjust the white balance under that certain condition.
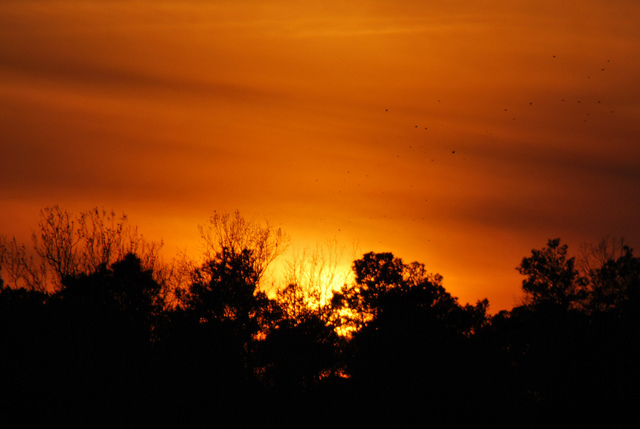
 When to use the wrong white balance
Sometimes, you might want to purposely off set the white balance to give the photo a drastic look by deliberately warming up or cooling down the photo hue. For example, if you wanted to enhance the red and oranges in a sunset, you can select a cooler white balance present such as Fluorescent or Cloudy to warm the image up further.
When to use the wrong white balance
Sometimes, you might want to purposely off set the white balance to give the photo a drastic look by deliberately warming up or cooling down the photo hue. For example, if you wanted to enhance the red and oranges in a sunset, you can select a cooler white balance present such as Fluorescent or Cloudy to warm the image up further.
- on 3:51 PM
 That Hawaii’s Mauna Kea or White Mountain is the world’s tallest peak, measuring 16,400 m (47,000 feet) from base to summit? And that underwater volcanoes account for 75% of annual magma output? Just like Mauna Kea’s height, with 10,000 m (33,500 feet) under sea level, underwater volcanoes and their eruptions often go unnoticed. And because the usual signs like rumbling and smoke are harder to detect, it is all the more spectacular when an underwater volcano visibly erupts. Follow us around the globe for some of the most stunning sights.
 It is estimated that there are currently 5,000 active underwater volcanoes worldwide; of various sizes, standing alone or forming ridges with other volcanoes, of which the highest ones will rise above the surface as islands. The submerged part of the Hawaiian Islands, for example, is one of the largest and longest volcanic ridges – more than 2,400 km (1,500 miles) long.As underwater fissures in the earth’s surface, most submarine volcanoes are located near areas of tectonic plate movement. Clusters of terrestrial volcanoes therefore point to hotbeds of underwater volcanic activity as well, like the places portrayed here around Hawaii, California, Iceland, Japan, New Zealand, the Caribbean and Antarctica.
 Molokini Crater (above) in Maui County, Hawaii is a crescent shaped “island” popular with scuba divers, snorkelers and seabirds alike, but it used to be a fully round, volcanic crater. One can just imagine the underwater volcano in its heyday, forming a few new islands through eruption.Morro Rock in California is part of a series of volcanic plugs known as the “Nine Sisters,” created over 20 million years ago. The explosion of a submarine volcano created Morro Rock, a giant piece of lava that, once in contact with the sea water, formed a solid crust and settled in the neck of the volcano, similar to a cork resting in the neck of a bottle. Champagne-like explosions are not to be expected as the volcano is not active any more. The rock was named “El Morro” (pebble) by Portuguese explorers in the 16th century when the volcano’s crater was still visible. Today, erosion is constantly shaping Morro Rock
 orro Rock, CA, The diagram on top shows how a submarine volcano’s lava, ash and debris can settle on top of it, thus raising its peak, often above sea level. Or, a big rock or piece of lava can lodge itself in the volcano’s crater – hopefully after all the pressure has been released!In some cases, volcanic eruptions form whole new islands, for example the island of Surtsey in Iceland. Here’s the picture of the eruption of an underwater volcano (left) in November 1963 that started 130 m below sea level, and Surtsey today (right). The island, being the youngest, is the ideal study object for geologists, botanists and biologists and has been declared a UNESCO World Heritage Site.
 Surtsey being created,Iceland is a country that sees sporadic underwater volcanic eruptions. Heimaey, the largest island of the Vestmannaejyar archipelago, had its most spectacular volcanic activity in 1973, when lava from the Eldfell (Mountain of Fire) volcano threatened to block Heimaey’s harbour. The volcano, here seen in the northeast of the island, clearly just looks like the tip of the iceberg – or rather volcano – leaving one to speculate how much more lies beneath.
 Eldfell volcano, Heimaey island, Iceland. This is a picture of the eruption of an underwater volcano in the Pacific Ocean near the Japanese island of Iwo Jima in July 2005. A member of the Japanese army stationed on the island had alerted authorities after noticing a 1-km (3,280 feet) column of steam
 Underwater volcano near Iwo Jima island, Japan. Here’s another picture showing the circular eruption and various streams of steam coming out.
 Brothers volcano is part of the active Kermadec Arc, 400 km northeast of New Zealand, and lies 1,850 m below sea level. Amazing is the submarine volcano’s 3-km-wide caldera, a large crater caused by a volcanic explosion with 300 to 500-m-high walls, which were formed 37,000 to 51,000 years ago.
 3-D diagram of Brothers volcano, Kermadec Arc (400km northeast of New Zealand)
 Healy Volcano is another large submarine volcano on the Kermadec ridge: Probably the most spectacular capture of an underwater volcano eruption was that of the NW-Rota 1 on the seafloor south of Japan in April 2006, when Woods Hole Oceanographic Institution’s (WHOI) undersea vehicle Jason caught the eruption on camera during routine checks. Prior to that day, scientists had never been so close to an erupting submarine volcano, let alone taken audiovisual recordings. Says WHOI expedition leader Will Sellers about the experience:“There were some scary moments. There was a significant amount of gas coming up out of the pit. You could only imagine what it would have been like at the surface, if it wasn’t under that kind of pressure (from the tons of seawater above). It would have been huge. You wouldn’t have been able to stand anywhere near it. …The common reaction was, ‘Are you sure you should be here?’”Here’s a video of the spectacular underwater explosion. Notice that the lava in the vent is rising so fast that only a small glimpse of red glow can be seen:NW-Rota 1, seafloor south of Japan. Kick ‘em Jenny is the name of an active underwater volcano on the floor of the Caribbean Sea, about 8 km north of Grenada. Between 1939, the volcano’s first recorded eruption, and 2001, its last, it is said that there were 12 further eruptions. Today, there is a 5-km safety zone around the volcano to deter adventurous snorkelers and scuba divers.
 Kick ‘em Jenny, Caribbean seafloor. Even cold Antarctica is home to volcanic fire. Here is a picture of the Bransfield Strait with Brunow Bay and Livingston Island in the foreground and the Antarctic Peninsula in the background.
 Bransfield Strait underwater volcanic area, Antarctica. Who would suspect that under such a serene surface waits a submarine volcano?
 nd, last but not least, a cool reconstruction of how ships can measure the height and surface area of submarine volcanoes.
- on 3:49 PM
Urban photography is one of my favorite photography subjects. I love capturing the essence of a city, from the hustle bustle streets, to the outer residential areas. But how do you really capture the spirit of an urban landscape? Here are 10 tips to help you. Your feedback and more suggestions are welcome!
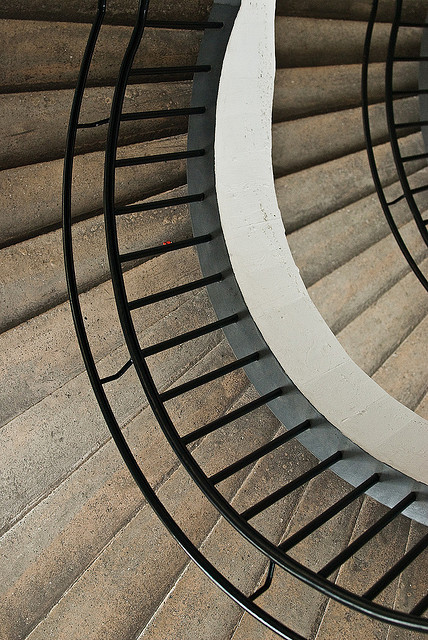
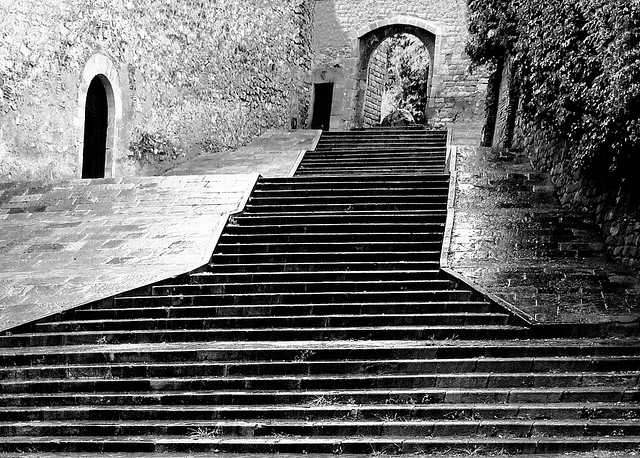
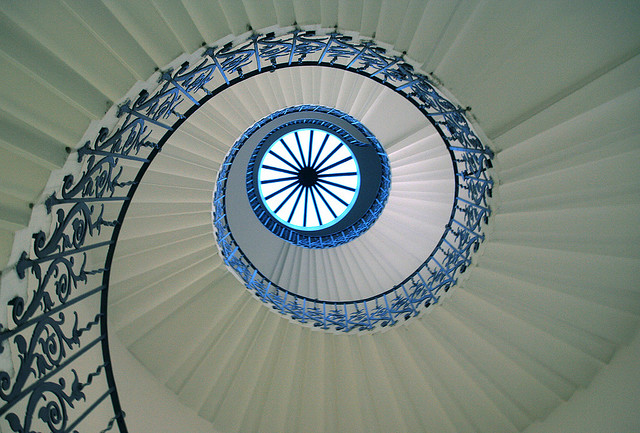
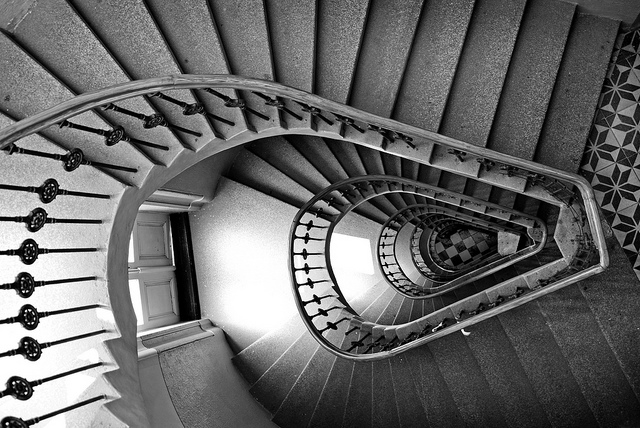
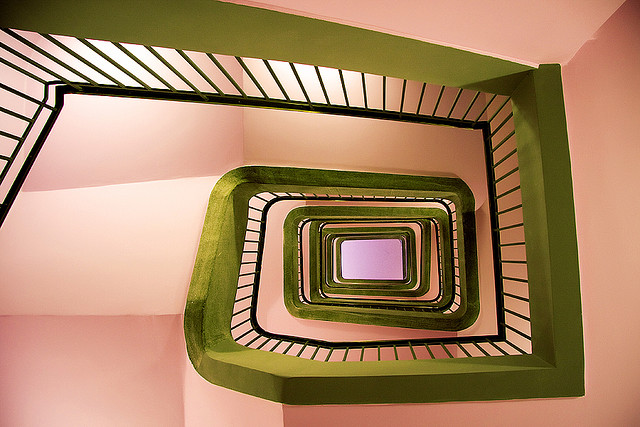
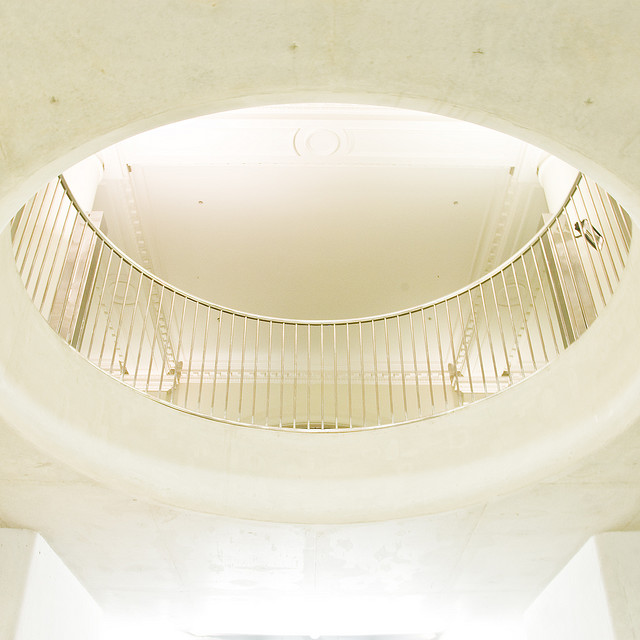
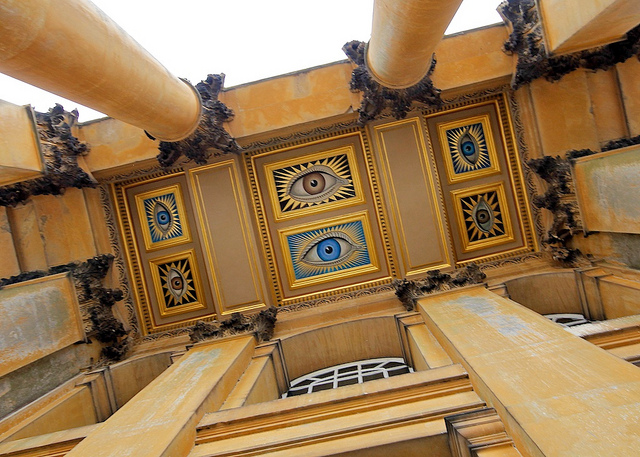
1. Architecture
The architecture of a city or suburb can really define the location. Capture not just the exteriors of buildings, but also the interiors. Look for unique points like colors, lighting, shape, symmetry, angles, lines and curves. There’s no right or wrong and you will soon discover your own creative flare of photographing architectural structures.
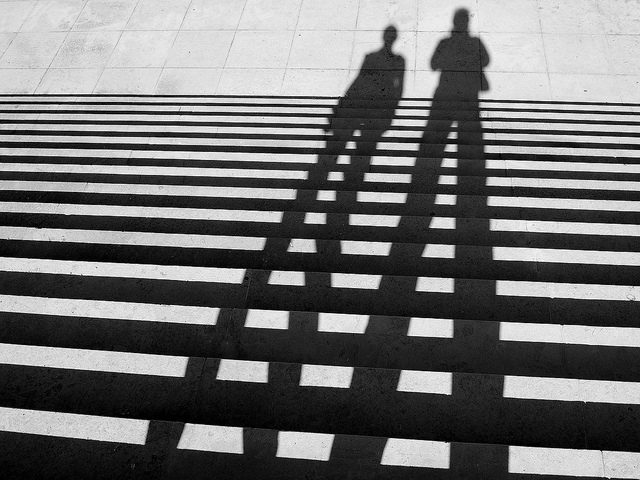
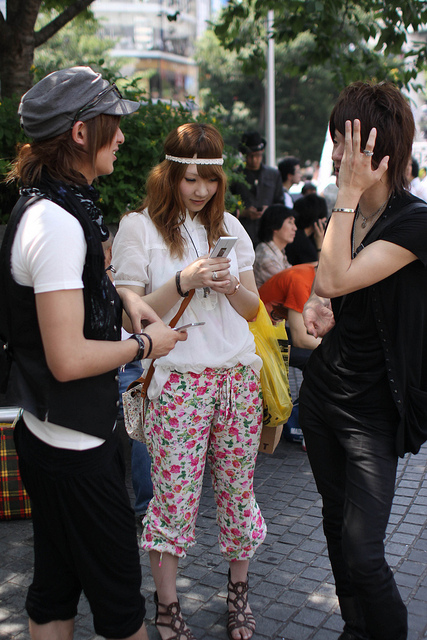
 2. People
If buildings are the bones and body of a city, then the people are its soul. The essence of a city or suburb can be found in the locals. Here’s where the shoot from the hip tip really comes in handy. Including both buildings and people in a single shot can make a powerful and dynamic photograph.
2. People
If buildings are the bones and body of a city, then the people are its soul. The essence of a city or suburb can be found in the locals. Here’s where the shoot from the hip tip really comes in handy. Including both buildings and people in a single shot can make a powerful and dynamic photograph.
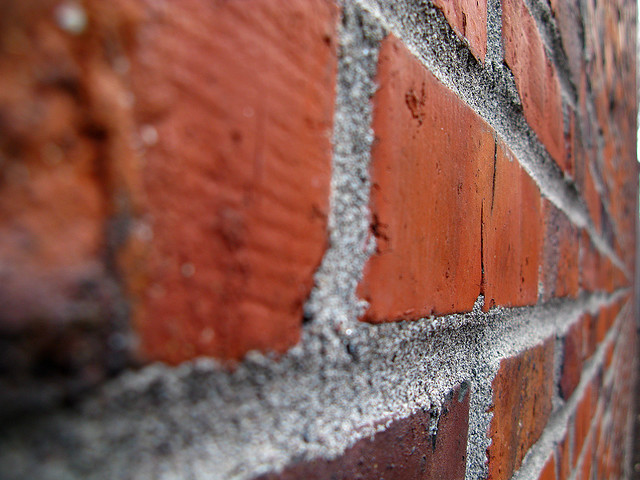
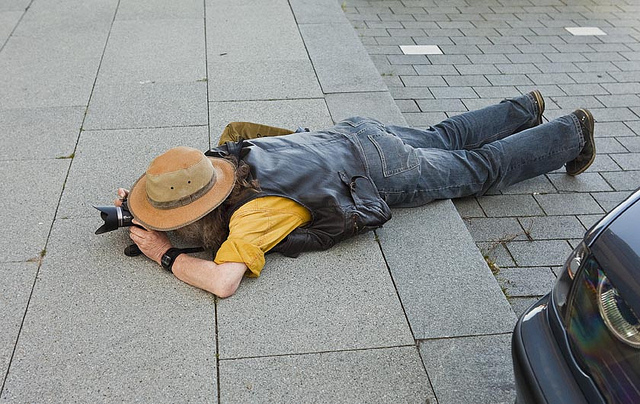
 3. Macro
Panoramic scenes can be breath taking. But see things from another angle and view by getting up close – super close. Photograph the finer details to really capture the texture and patterns of objects. Going macro is an easy way to photograph a familiar subject differently.
3. Macro
Panoramic scenes can be breath taking. But see things from another angle and view by getting up close – super close. Photograph the finer details to really capture the texture and patterns of objects. Going macro is an easy way to photograph a familiar subject differently.
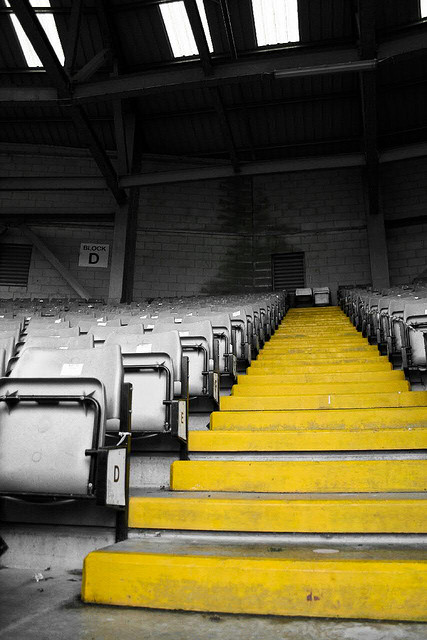
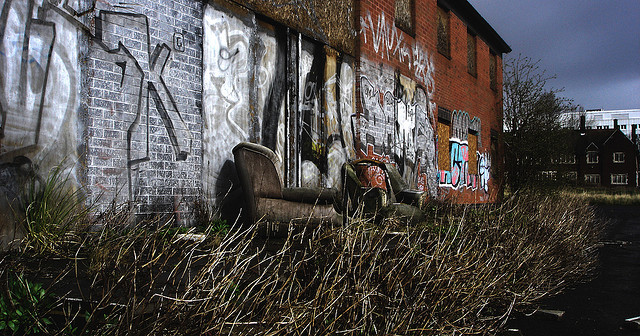
 4. Grime and Decay
A great photograph doesn’t necessary have to involve beautiful subjects. Urban decay can make a great theme and really convey another side of the city. Also look out for graffitis and street art.
4. Grime and Decay
A great photograph doesn’t necessary have to involve beautiful subjects. Urban decay can make a great theme and really convey another side of the city. Also look out for graffitis and street art.
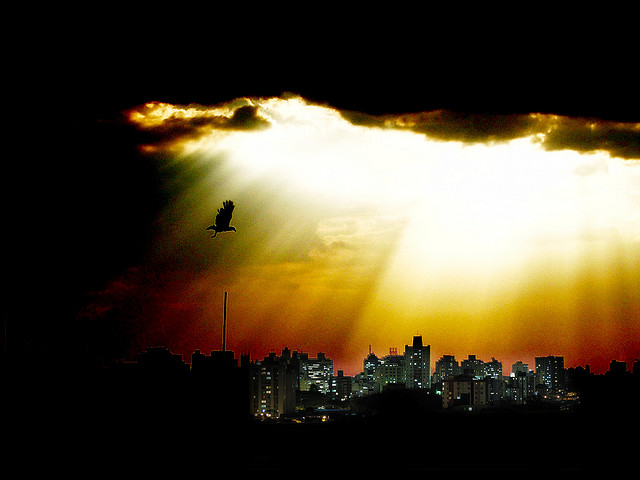
 5. Night Life
A city literally lights up at night and photographing during the evening can bring another contrast to the place. Some streets might liven up at night, while busy pavements during the day might become more deserted. Take advantage of the golden hour to bring a bit color and contrast into buildings and people. With night photography, remember to use a fast lens and bring along a tripod.
5. Night Life
A city literally lights up at night and photographing during the evening can bring another contrast to the place. Some streets might liven up at night, while busy pavements during the day might become more deserted. Take advantage of the golden hour to bring a bit color and contrast into buildings and people. With night photography, remember to use a fast lens and bring along a tripod.
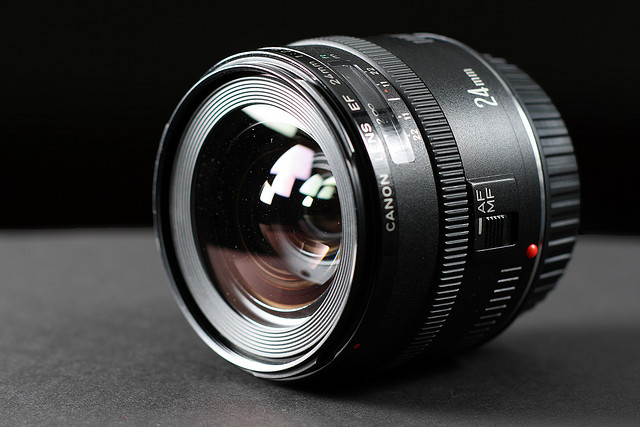
 6. Variety of Lenses
With urban photography, you will come across a variety of subject, and thus, a zoom lens is useful. I tend find a 24-70mm lens able to cover an array of subjects. Personally, I actually like to shoot with prime lenses as they’re faster and better to shoot candid people with. Depending on what you want to shoot, I would recommend taking at least two primes. One wide angle like a 18mm to 28mm for tall buildings and scenery, and another between 50mm and 100mm to shoot people and objects.
6. Variety of Lenses
With urban photography, you will come across a variety of subject, and thus, a zoom lens is useful. I tend find a 24-70mm lens able to cover an array of subjects. Personally, I actually like to shoot with prime lenses as they’re faster and better to shoot candid people with. Depending on what you want to shoot, I would recommend taking at least two primes. One wide angle like a 18mm to 28mm for tall buildings and scenery, and another between 50mm and 100mm to shoot people and objects.
7. Comfortable Attire
It goes without saying that you should wear something that suits the weather conditions. Nevertheless, I still see the odd photographer wandering around the streets in clothing that fits in all the wrong places. Whatever you’re wearing, make sure you can kneel, squat, jump and walk comfortably.
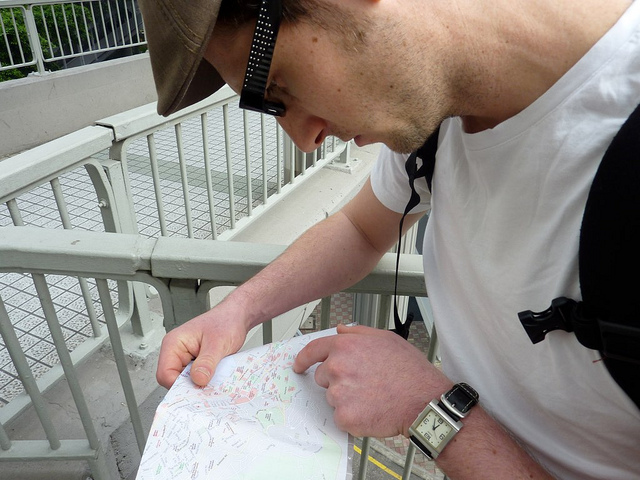
 8. Get Your Gear On
Just like wearing comfortable attire, make sure you’re carrying the right camera equipment and gear. Extra batteries, lens hood and lens filter are essentials. But you might also like to consider things like city maps if you’re unfamiliar with the location and maybe even pen and notepad to jot down place and people’s names.
9. Research
Even if you know the place pretty well, a bit of research can go a long way. Find out about events, exhibits, the weather and map out spots you want to check out.
8. Get Your Gear On
Just like wearing comfortable attire, make sure you’re carrying the right camera equipment and gear. Extra batteries, lens hood and lens filter are essentials. But you might also like to consider things like city maps if you’re unfamiliar with the location and maybe even pen and notepad to jot down place and people’s names.
9. Research
Even if you know the place pretty well, a bit of research can go a long way. Find out about events, exhibits, the weather and map out spots you want to check out.
 10. Explore
To contradict my tip above about researching, mix it up sometimes and do the opposite. Explore alleyways, small streets, hidden lanes and unfamiliar suburbs. Seeing the same thing over and over again can dull your senses and be uninspiring. Spice things up by getting lost.
10. Explore
To contradict my tip above about researching, mix it up sometimes and do the opposite. Explore alleyways, small streets, hidden lanes and unfamiliar suburbs. Seeing the same thing over and over again can dull your senses and be uninspiring. Spice things up by getting lost.
- on 3:27 PM
Some people don’t know anything about limits. Sometimes you have to say to yourself: “Ok, man you cross the limit. Now stop doing that and try to be normal.” Overeating can be disease but in lot of cases its just human addiction.